Our Newsletter
Recipes, Tips, and More!

A Family Affair
I’m a lucky girl – my children love books. They also love me (thank God!), pictures and crafts. I’ve decided to mix all of these passions together to create a special little something for them to peruse when they get bored: a picture book of Mommy sending them some love.
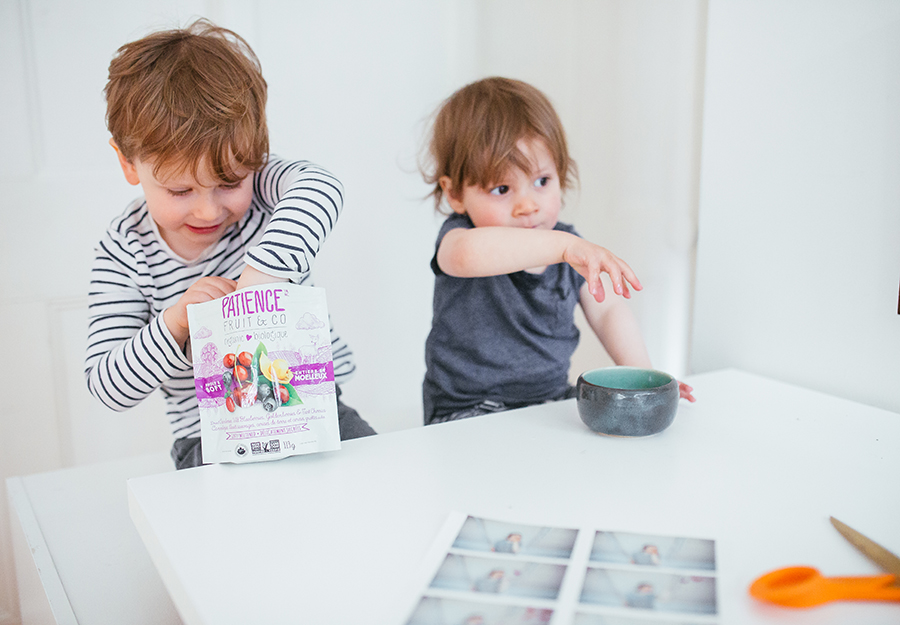
This easy-peasy project is a definite upgrade from the matchstick man flipbooks I made as a young girl. My kids had so much fun making their booklet! They helped me choose the pictures and assemble the final product. Grab a snack and treat your children to an arts and crafts session!
The Material
White cardboard
White glue or “Modpodge” glue
Paintbrush
Washi tape (or regular tape)
Scissors
Clip
Camera
Tripod
Computer
Printer
The Steps
- First, find a simple storyline around which to build your flipbook. For example, I simply selected pictures of myself blowing a kiss to the camera in front of a light-coloured background. I snapped the pictures in about 15 minutes, placing my camera on a tripod and using the self-timer mode. You can also use pictures of your kids playing around and having fun. Make sure to use the burst mode!

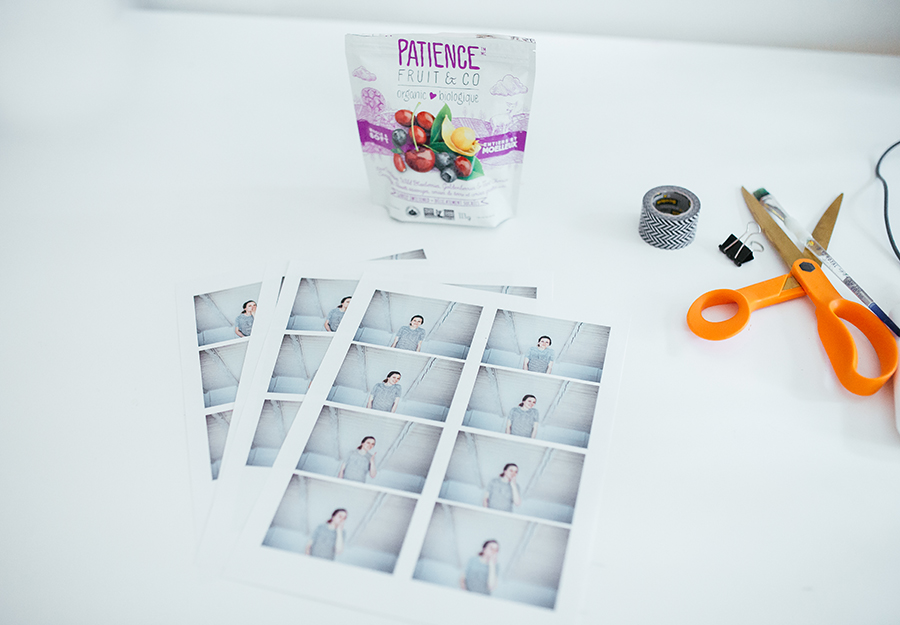
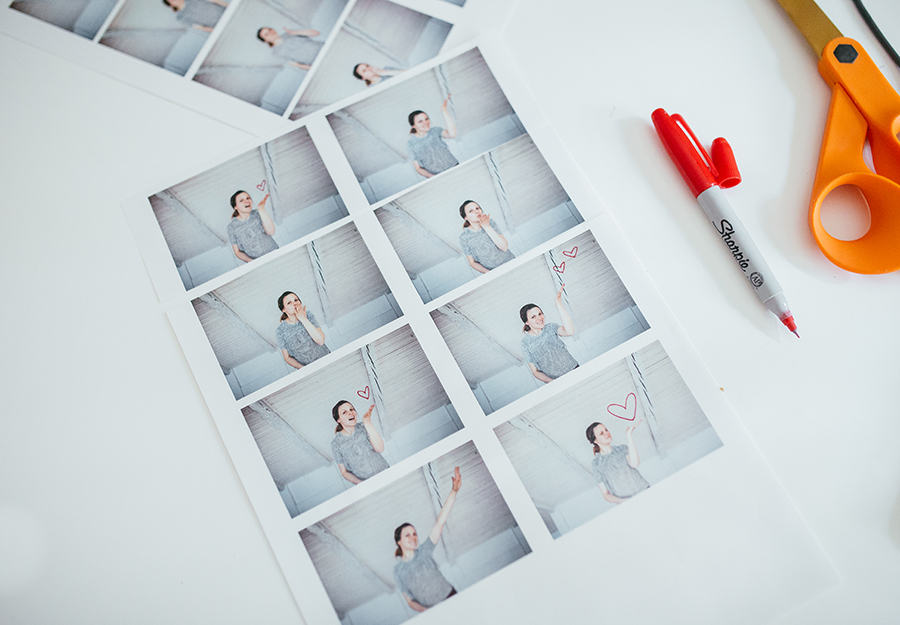
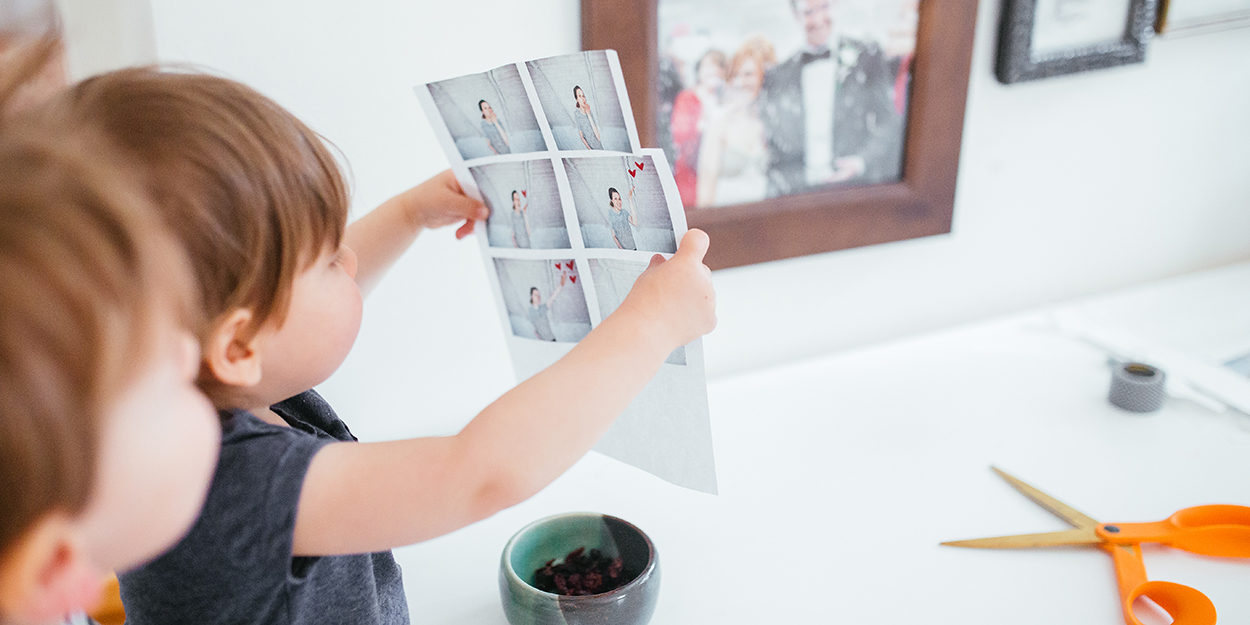
- Then, I downloaded all the files on to my computer and laid them out using a word-processing software (like Microsoft Word). I used 8 images per sheet, to get a smaller book that my children could handle easily and then printed them. With a red felt pen, I added little hearts to some of the pictures to add a bit of feeling and texture.
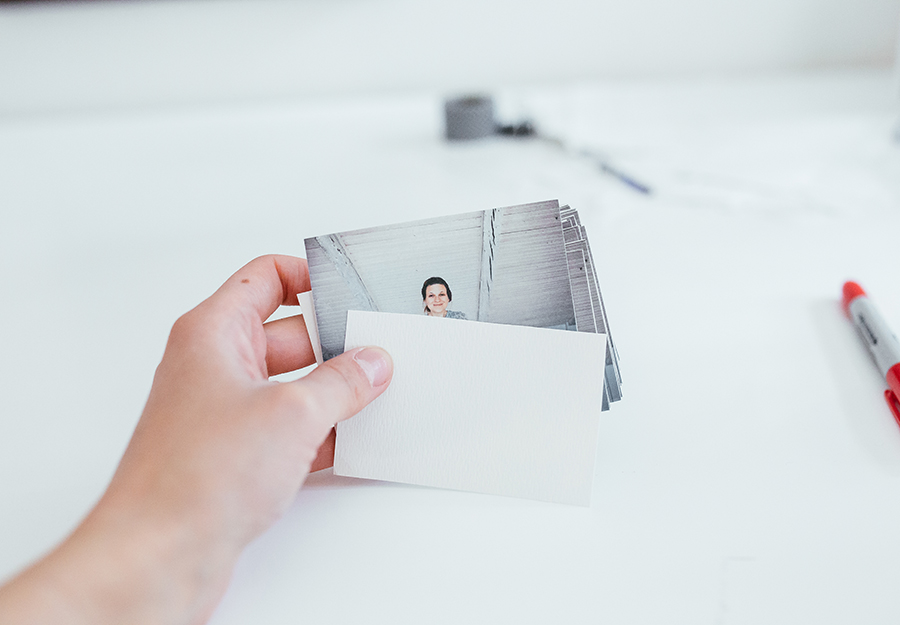
- Then, carefully cut the images to size and arrange them in the right order in a pile. This will soon become your picture book!
- Tie the photos together with a piece of scotch tape running from the top of the first picture to the bottom of the last one. In this case, I made a cover page with a piece of white cardboard and I used Washi tape to make the book look pretty, but I could have simply used clear tape and stuck it directly to the first and last pictures.
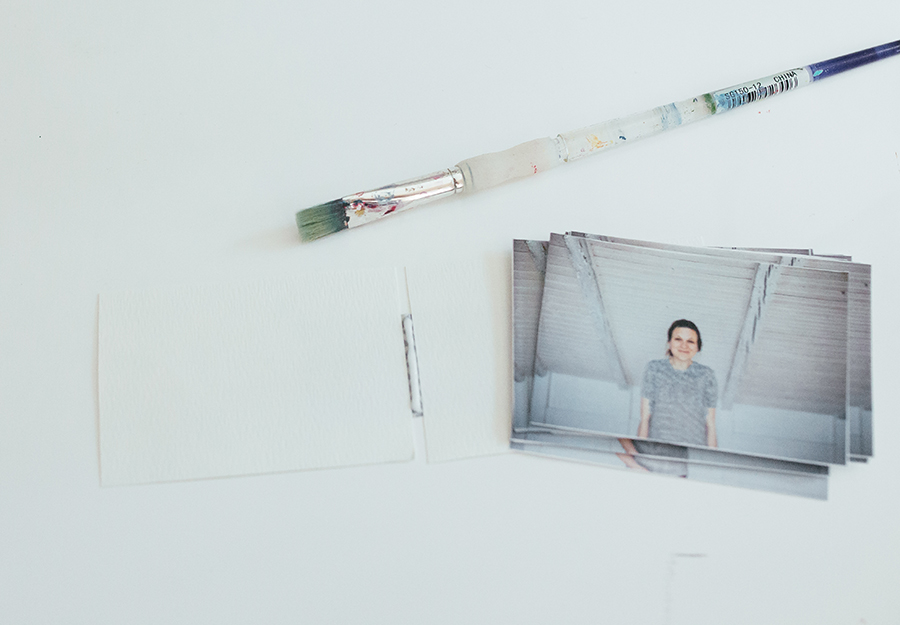
- Take out all of the pictures from the middle of the book. Using a brush, apply glue to the center of the tape. I recommend using a thick coat of glue to make sure that all of the pictures are strongly tied to the binding.
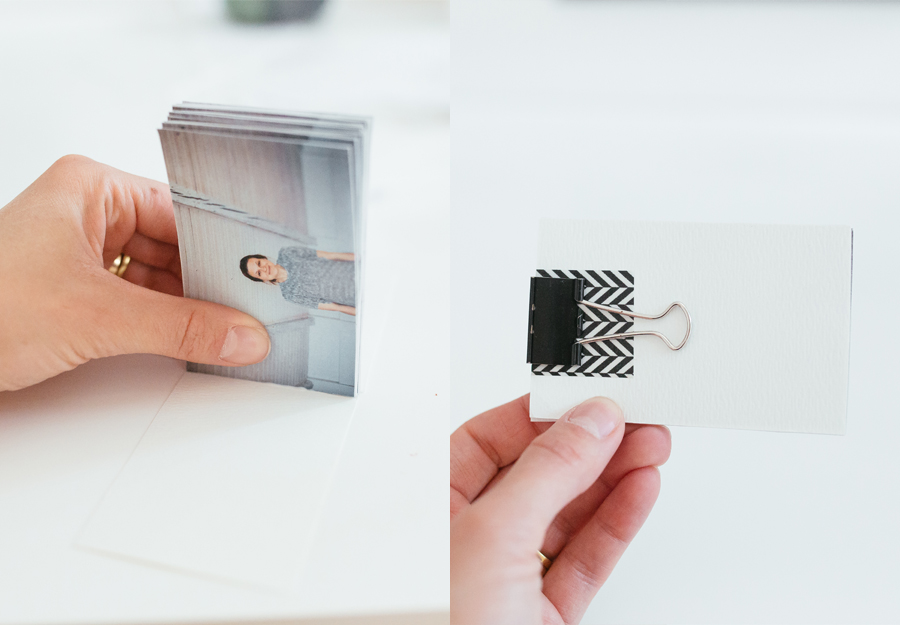
- Then, put the middle pictures back in the book, pressing firmly on the middle of our book cover. Firmly secure the book with the clip and let dry overnight.
-
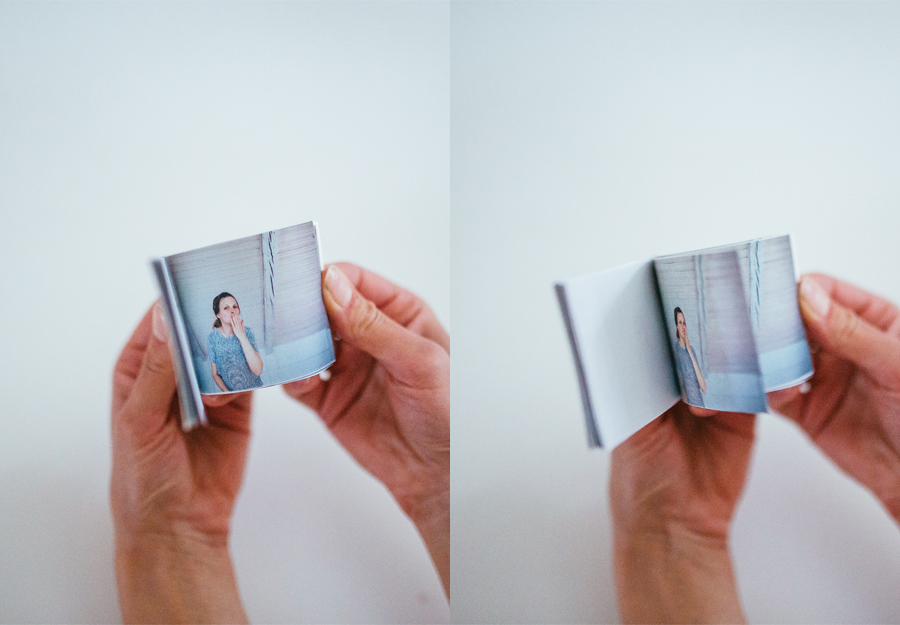
Voilà! Your very own homemade picture-flipbook.

Tips & Tricks
Aim to have about 30 pictures for your flipbook. If you only have 15 pictures, print two copies of each to add heft to the book.
Choose a cardboard that’s not too rigid, so that small hands will be able to handle the book with ease!
Thanks to our collaborator

Ruban Cassette
Elisabeth Simard, self-taught photographer and Mom blogger, shares her work, her inspirations, her thoughts, and daily snippets of life with her sons and her husband on her blog, Ruban Cassette.
Visit blog